

This project explores working with changing pixel domains and pixel values in visual data. In particular, this project focuses on working with facial images with transformations such as morphs, warp-dissolves, cross-dissolves, caricutares, and facial averaging.
Throughout this project, we will being doing various manipulations that involving combining different faces in some manner. One issue with this is that different people have facial features in different locations in the image due to either the perspective the image was taken from or because humans fundmentally have different locations for facial features relative to where their other features are. When combining images, we thus need some way to put faces into a standard location defined by where features lie. To do this, we use correspondances. Correspondances are data that define where certain notable facial characteristics lie in the image. Throughout this project, I will be working a lot on combining two particular photos: one of George Clooney from the Martin Schoeller collection, and another of myself taken from a similar perspective with equivalent dimensions.


I defined correspondance points for these two images using the tool provided by course staff. Click Here to Find the Tool.
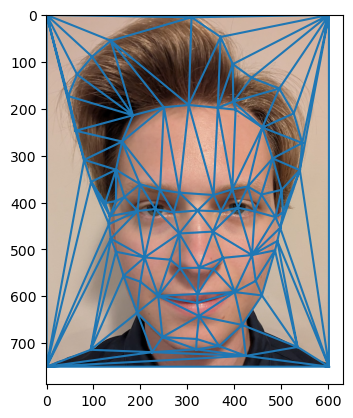
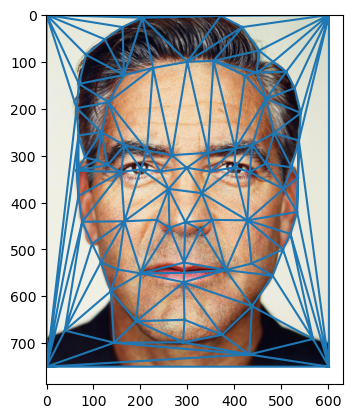
For these two images, I selected 80 points of correspondance. I later added a point of correspondance for each corner to improve morphing, bringing the total number of correspondances to 84.
When using these correspondances later on in the project, I found a large challenge to be that the tool gives the points of correspondance with the x, y values flipped compared to how numpy stores images. Thus, I flip the x, y coordinates of correspondance points after I load them in. This is a consequence of how many applications in the image processing sphere track image locations in the opposite manner to how images are stored. Finding this issue required a substantial amount of debugging and this issue was something that required constant attention throughout the project. For example, I would have to flip the x, y coordinates of points back when plotting them on images, since that is how the plotting software expects them.
Given these points of correspondance, we compute a Delaunay triangulation, which provides the optimal triangulation to use when morphing each area of the image together independently. Since we are using the triangulation to morph images into an average shape, we calculate it using the average location of each correspondance so that the triangulation is stable in the position we are going to use it in. Below are both of the images showing the points of correspondance and Delaunay triangulation.
In this section, I am computing the "mid-way" image of myself and George Clooney. This first involves computing the average shape of our two faces, which we define as the average location of each correspondance point. Then I will map each face into that shape, and average the colors from each of our faces.
The most difficult part of the whole project is to figure out how to morph two images into a common shape. My approach maps each face to the mid-way face independently for each triangle in the triangulation. Our theory is that for each triangle, the triangle in the midway image is some affine transformation of the triangle in the original image. Thus, we need to determine the affine transformation of the original image triangle's location that finds the location of the corresponding triangle in the midway image. Given the degrees of freedom of an affine transformation, the triangle's three vertices (the points that define the triangle's location) in the original and midway image suffice to find the transformation. This gives us a linear system, that we need to solve to determine the coeffcients of the transformation. My computeAffine function solves this linear system (with the least-norm solution when a singular matrix arises) and determines the transformation matrix that maps the original triangle to the mid-way triangle.
Next, I use my ability to find affine transforms to inverse warp the colors from the original image to the midway image. For each triangle, I do the following routine:
First, I calculate the affine transformation that maps the triangle between the images.
Next, I find the polygon that contains the index of all points within the triangle in each image.
Then, I perform Einstein Summations to warp each pixel to its new location.
Then I use griddata to interpolate the pixel values in the midway image based on the would be new locations of the pixels coming from the old image. Due to the workings of griddata, this does in fact implement an inverse warp. This is because griddata interpolates the pixel values based on the pixel values that are in the region of the original image that transforms to the relevant point in the mid-way image.
We do this image for both images and get the resulting mid-way image. Below are the results for George Clooney and myself.


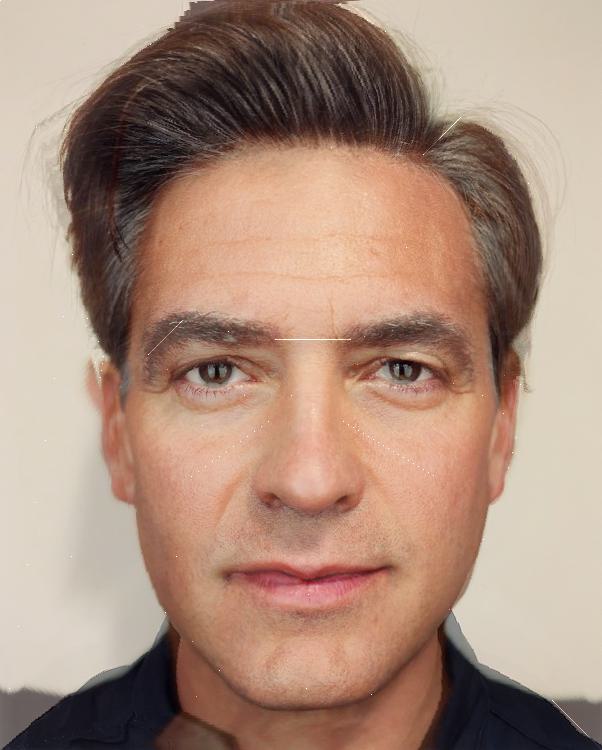
The shape of the midway face seems to be a good midway shape of the two of us. In particular, I like how the hair is a middle hieght between the hair height of George Clooney and myself. I am surprised however that the coloring of the face seems to be closer to George's than mine. Perhaps this has to due with how RGB pixel values map to certain skin tones. Here, it appears that lighter skin tones must require much higher pixel values. The average of George's darker skin and my lighter skin seem to still be darker in tone, implying that generally darker skin values span a wider range of RGB values.
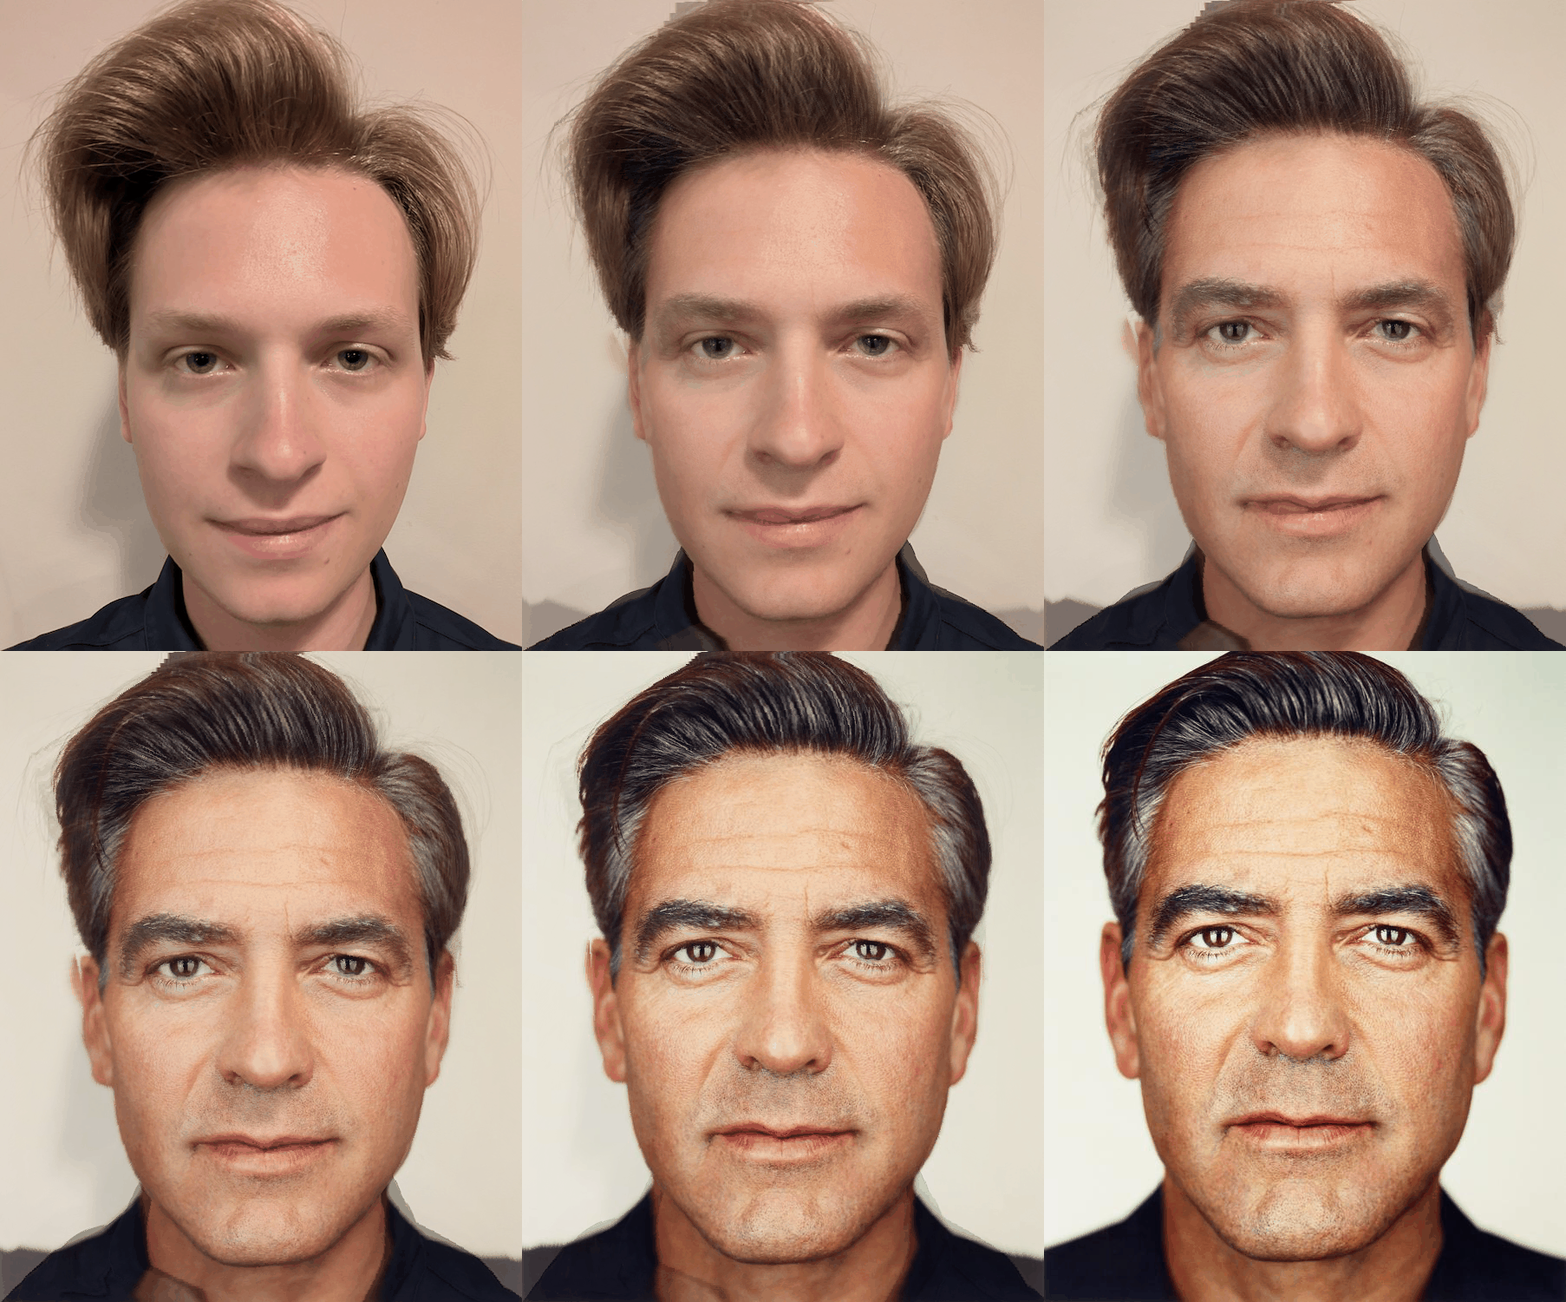
In part 3, we are essentially performing a more flexible version of the process we did in part 2. The underlying logic is quite similar; however, the morph function will allow independent control over the resulting face shape and color, allowing each to be some specified affine combination of both the images. In this section, I will produce the video (in the form of a GIF) that shows the result of morphing both images together using interpolation. This is achieved by making a video from 46 still images, where the warp_frac and dissolve_frac parameters are simultaneously linearly sweeped from 0 to 1.
Now, I will apply the tools and knowledge I have built to a different set of images. Here I am using the image dataset from FEI university in Brazil using the spatially normalized images with the provided correspondance points. To be exact, I using the happy image photos from the first half of the dataset (100 images).
The first task is to compute the average face correspondance points for the dataset. Once again, I did this by averaging the location of each correspondance point. I then found the Delaunay triangulation.
Next, I morphed each image in the dataset into the average shape of the dataset. Below are some examples showing each image before and after warping into the average shape.


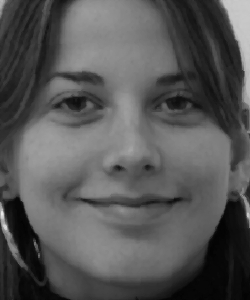

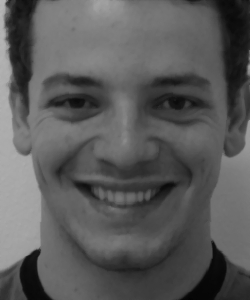

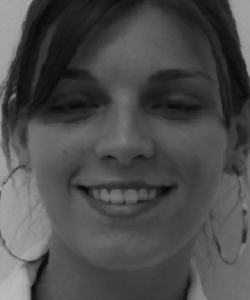

As the third question in part 4, I am tasked to find the average face of the dataset. Since I have already calculated each face in the dataset warped into the average shape, I can simply average the colors of those already warped images together to get the average face. The resulting average FEI researcher happy face is below.
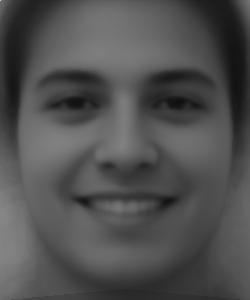
In this subsection, I will work with combining my face and the average FEI happy face in several ways. First, I will warp my face into the average geometry of FEI faces, and secondly, I will warp the average FEI face into my geometry. Note that since the supplied FEI faces are grayscale, the average FEI face warped into my geometry is also grayscale.
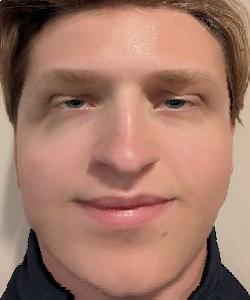
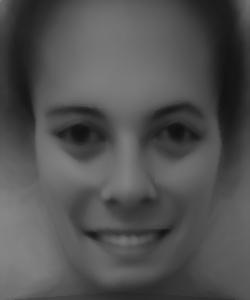
Previously, I have done interpolation on images, which generally creates something reasonable. However, now I will extrapolate, which accenutes the features or coloring of one face compared to another. This amplifies the features of someone's face, which can create ridiculous faves. Hence, extrapolation can be useful for creating caricatures of someone (in this case, myself!). The image below shows a caricature of myself versus the average FEI face calcuated using a alpha paramter = 1.5. The resulting face is approximately 1.5 * myFace - 0.5 * averageBrazFace in both shape and color. I tried larger alpha values, but the resulting caricatures were too extreme.
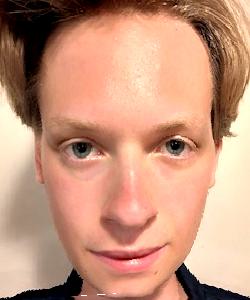
Throughout this process, I have noticed that my face is much narrower, longer, and with a larger forehead than the FEI faces. As a result, the caricature shows my face as being very narrow, especially around the eyes, and long with a large forehead to a silly extent. For face coloring, we have the additional consideration that my face is a color image while the others are grayscale. As a result, the FEI average image is constant across the RGB channels when made into a RGB image. Thus, the FEI face affects the color of the caricature by making the regions where the FEI is light uniformly darker in the caricature. The differences across color channels will be wholly controlled by the image of me. Overall, my image mostly seems to control the color of the caricature; however, some regions in the caricature seem to accenuate redness in my face. The FEI average image seems to have lots of effect over the face shape in the caricature.
For this bells and whistles, I am using PCA to create a new basis system to represent face images, with the basis vectors being known as Eigenfaces. I am doing PCA using the same happy FEI dataset as above. To accomplish this, one should flatten each image into a vector, compute the PCA, then reshape each eigenvector back into an image to get an eigenface. This works suprisingly well consdiering that, when we flatten, we are destorying the information as to what pixels are neighbouring. I tried this with several different "flavors" with different options.
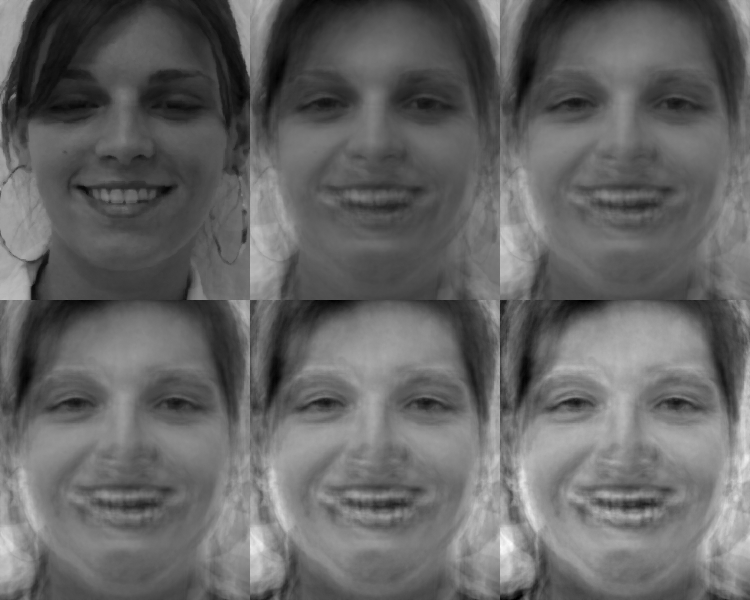
First, I tried doing PCA using the FEI dataset that I had already morphed into the same shape. Since most images were now so similar in shape, only a few eigenfaces represnted most of the variance. In this situation, each eigenface seemed to more represent a pixel intensity than a shape. The pro of this is that faces in the dataset could be represented extremely well. However, using premorphed images made morphing not very interesting since all faces are already the same shape. Below we can see how well premorphed faces can be represented using 75 and 20 Eigenfaces.
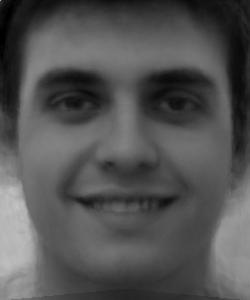

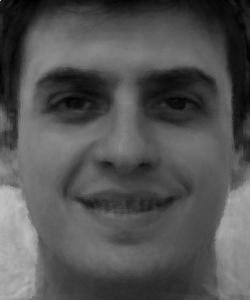
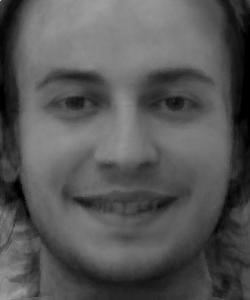

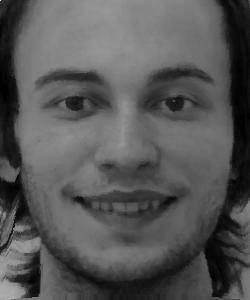
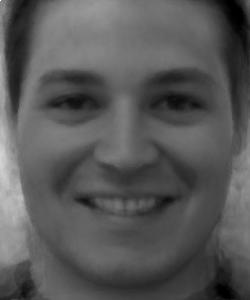

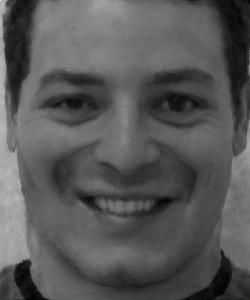
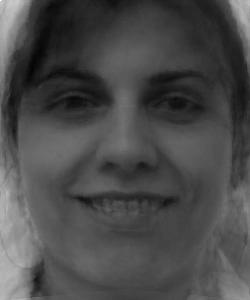

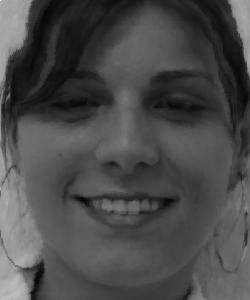
However, I ultimately found it more interesting to work with PCA when the input faces had not already been warped into the average shape. In this scenario, each Eigenface is more aligned with representing a face shape.
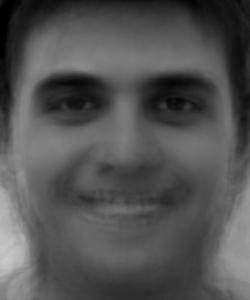

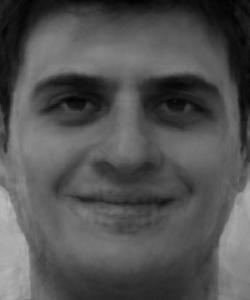
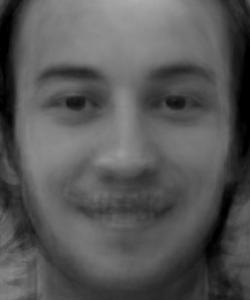

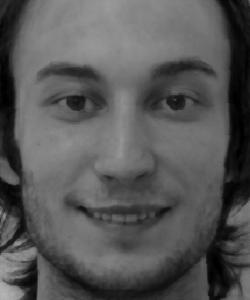
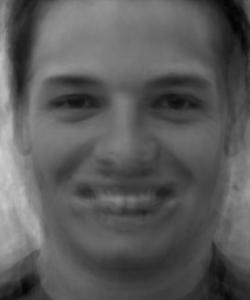

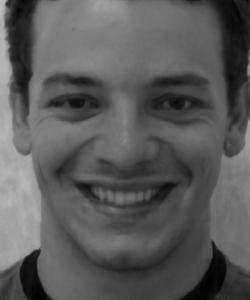
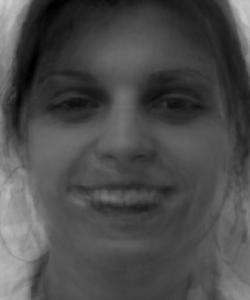

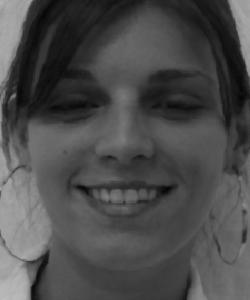
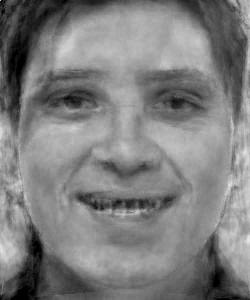
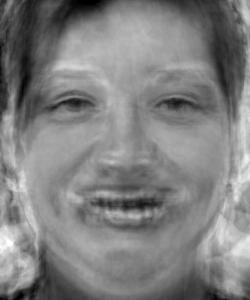
For faces that exist in the dataset, we can see that it takes more eigenfaces to get a good representation in eigenspace, when using the Non-Warped faces compared to the already warped faces. This is likely because, when working with pre-warped images, only the first few are significant due to all images being in the roughly the same shape (low variance, which is what PCA draws from). Thus, it takes more eigenfaces (components) with the unwarped data to get it to represent the non-warped faces, since we need to find the right combination of face shapes. Also notice that my personal face represents very nicely in the pre-warped space (with my face also pre warped). It looks a lot like my face, and I would say actually looks better than when I warped my face into average FEI shape in standard pixel basis. This is likely due the fact that some of the small details got odd in the standard basis face when warping, which are not there when we are in PCA basis (since it only combines faces natuarally in the shape). We can see that my face (un-warped) in the PCA basis space of unwarped FEI faces does not present quite as nicely. This is likely because its shape is not in the dataset that was used to form the basis.
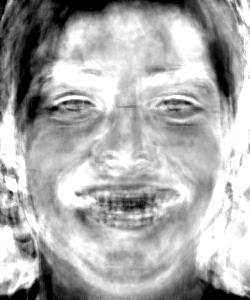
The caricatures of me in PCA basis were not as crazy as the caricatures in normal basis. This is likely due to the fact that the EigenFaces are all fairly normal face shapes. Since any caricature in PCA basis is just a linear combination of these EigenFaces, we always get rather normal face shapes. Thus, PCA space is not effective for making caricatures.
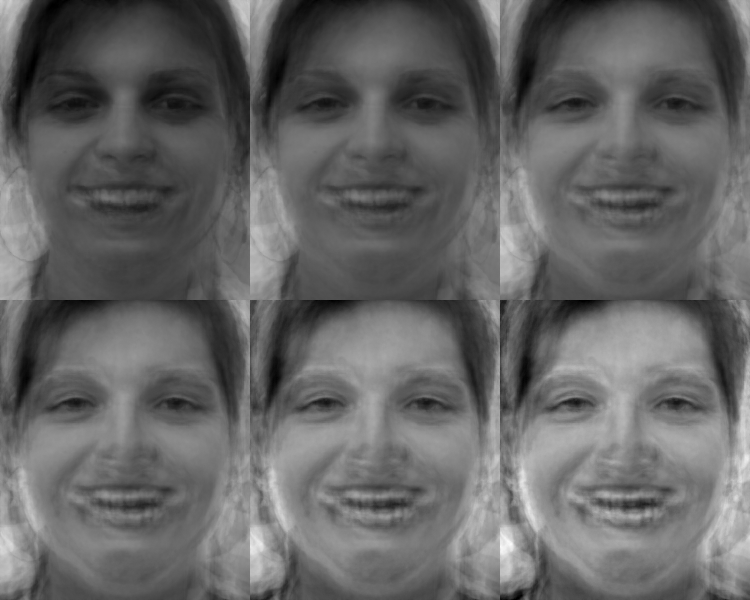
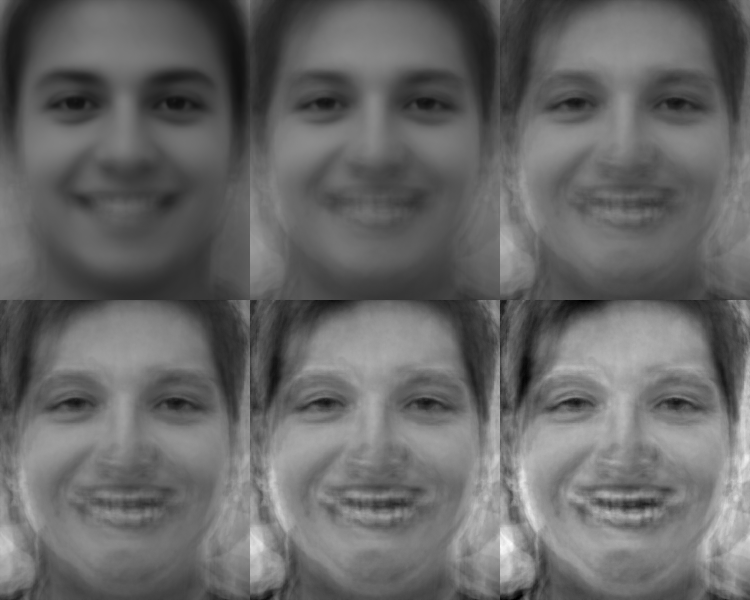
The videos are smooth and pleasant to watch; however, not as much as the standard pixel basis morphs. Also, the PCA basis morphs are not as interesting as the morph videos made in standard basis. Since the video content is constrained by the range of the eigenfaces, the transformation is more gradual than in standard basis. Of course, they are also constrained that I can not be represented that well in PCA basis space. Also, more and more noise is introduced as it is morphed towards me, which is not ideal. In these morphs morph towards me, I have a hard time dicerning my face. In the standard pixel morphs, my face was clearly noticable when being morphed towards. Overall, I would also say that morphing works better in standard pixel basis space.
Since each image is represented by only 75 numbers in PCA basis space, all image processing tasks (such as morphing) were extremely fast in PCA basis! For example, Jupyter says that those morph GIFs only took 0.3 seconds to calculate!
I consulted some external resoures when creating this website for instructions on how to write HTML and CSS code. Some of my webpage code is adapted from https://www.w3schools.com/howto/howto_css_images_side_by_side.asp and https://stackoverflow.com/questions/12912048/how-to-maintain-aspect-ratio-using-html-img-tag.
I would like to emphasize that all of the code for image processing is of my own creation.